
This isn’t exactly a normal blogpost (are any of them?) but KrZ wanted some pinout info so I figured I’d put it here in the hopes that it will get indexed and pop up for others who need it, as unlikely a scenario that is.
KrZ is a digital archeologist who plays with old devices like this one:
I am a developer who did a ton of work on low power BREW devices. (we’re talking pre-iPhone days) As a life-long tech hoarder, I still have many of those devices I worked with.
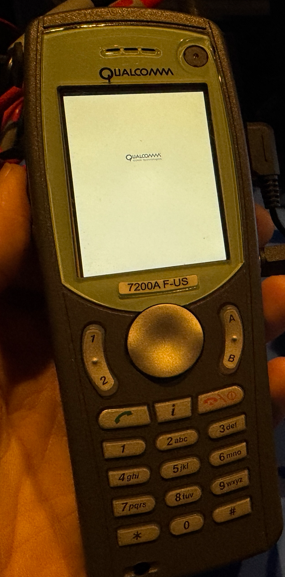
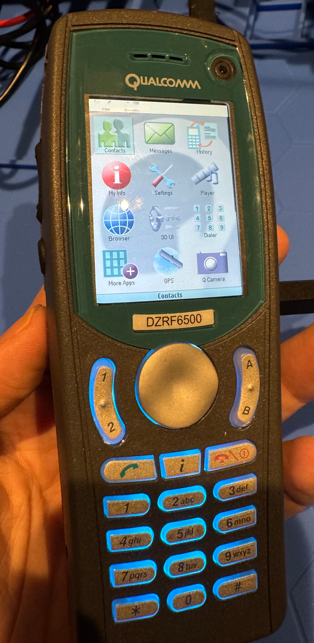
The 7200A F-US and what looks very similar, a DZRF6500. (they both look a lot like KrZ’s QRF7600)
Battery and power
Here is the battery (same for both of my devices)
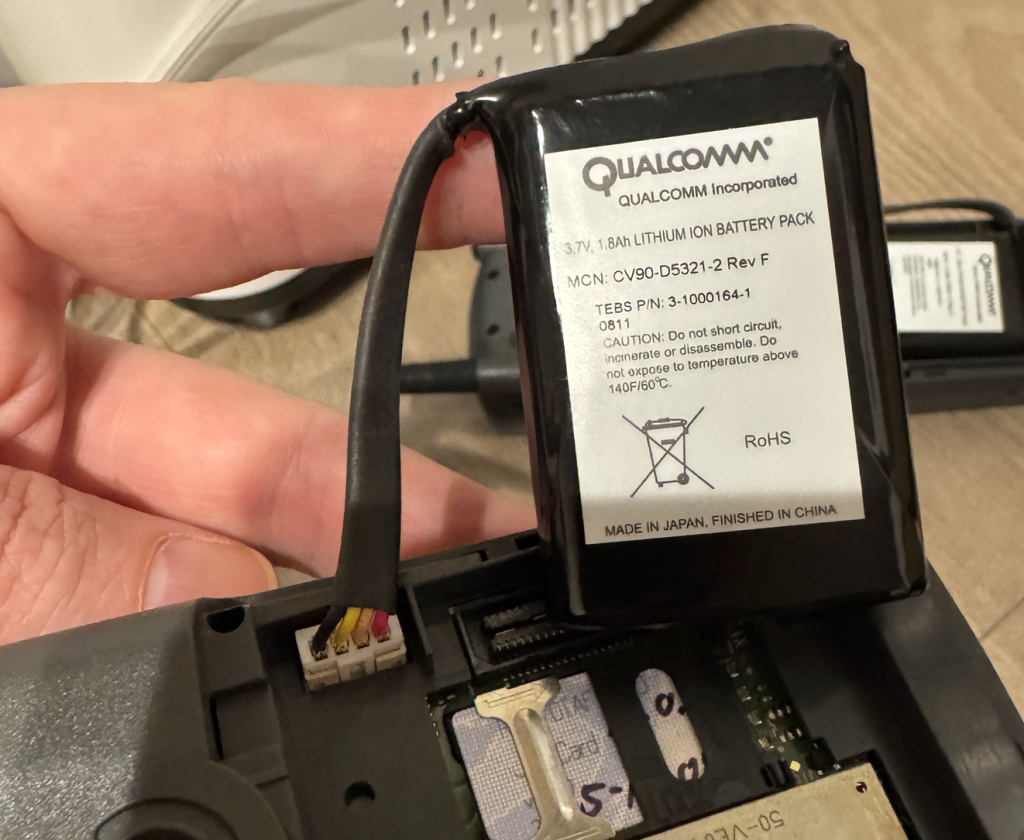
I assume the black wire is GND and red is the 3.7V power with the other two being battery sensors of some type. Did I test? No. Am I lazy? Yes.
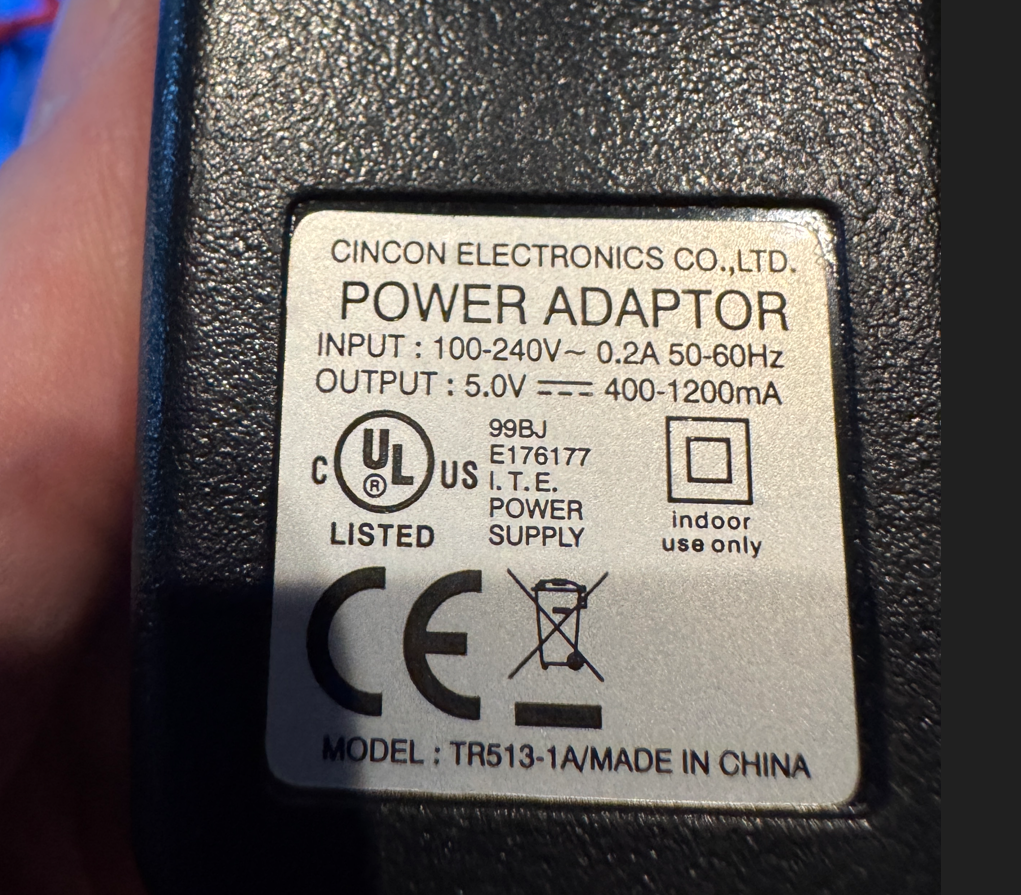
The good news is these phones have no issue working directly from DC power (with the battery connected or disconnected). The power plug is a 4mm barrel jack, center positive, 5V. I’m not even sure this power cable is for this device. It has 1.2A.
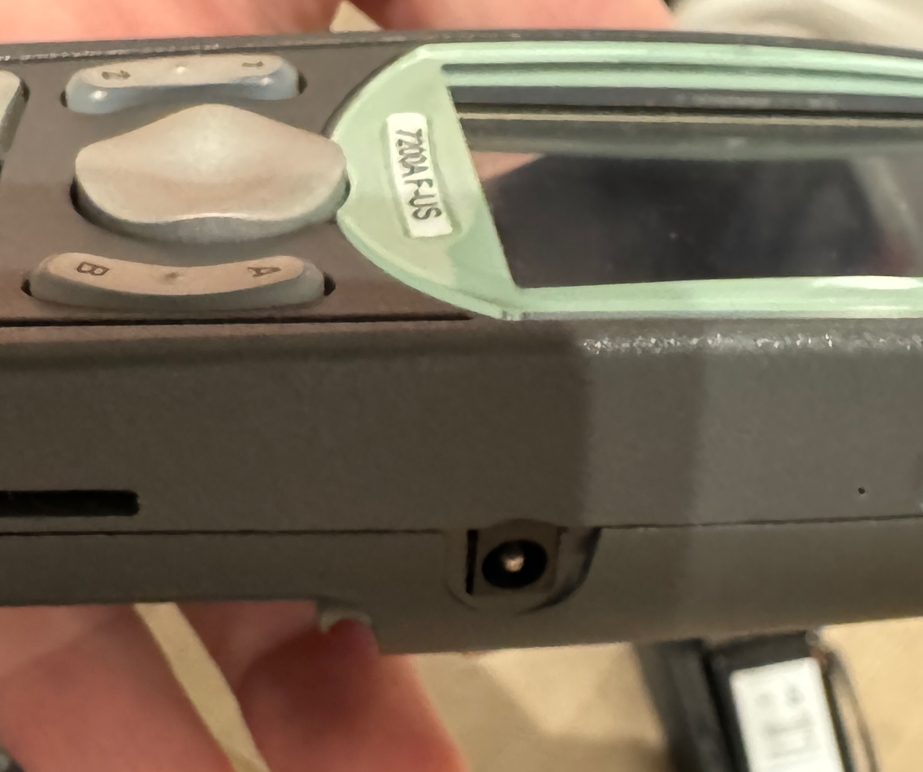
Also in the battery area, there are 4 tiny toggle switches on the 7200A. Mine were all off, except for 4 which is on. I don’t know what they do.

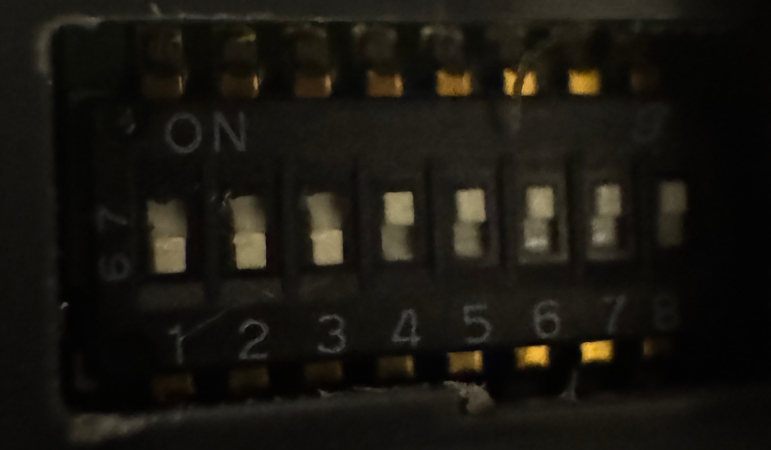
The 6500 has 8 tiny switches, 1-3 off, the rest (4-8) on. Again, no idea what they do.
Ok, next, let’s look at the RCA composite video/audio out cable adapter. Again, I’m not sure if it was specifically for this device, maybe it’s a standard on old phones? No idea but the plug fits.

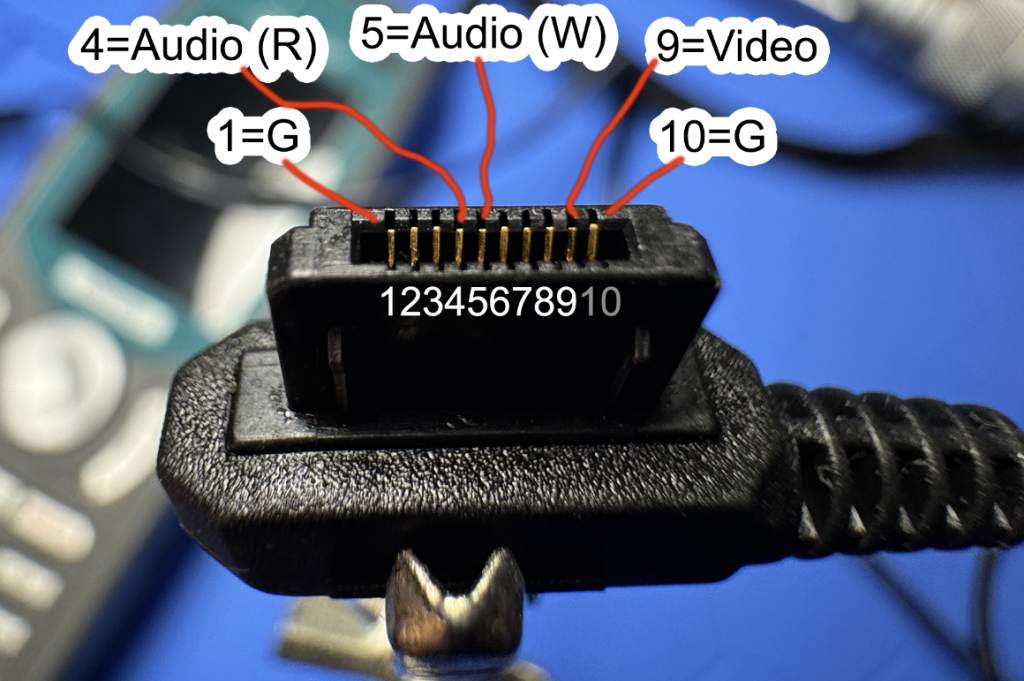
On the closeup of its connector (what is it? it’s 10 pin) I’ve labeled which ones are used for the RCA video/audio out. G=ground btw. R=red, W=white. I’m not sure if it’s really stereo or not, but the two audio plugs do each have their own pins so maybe.
Using the RCA adapter
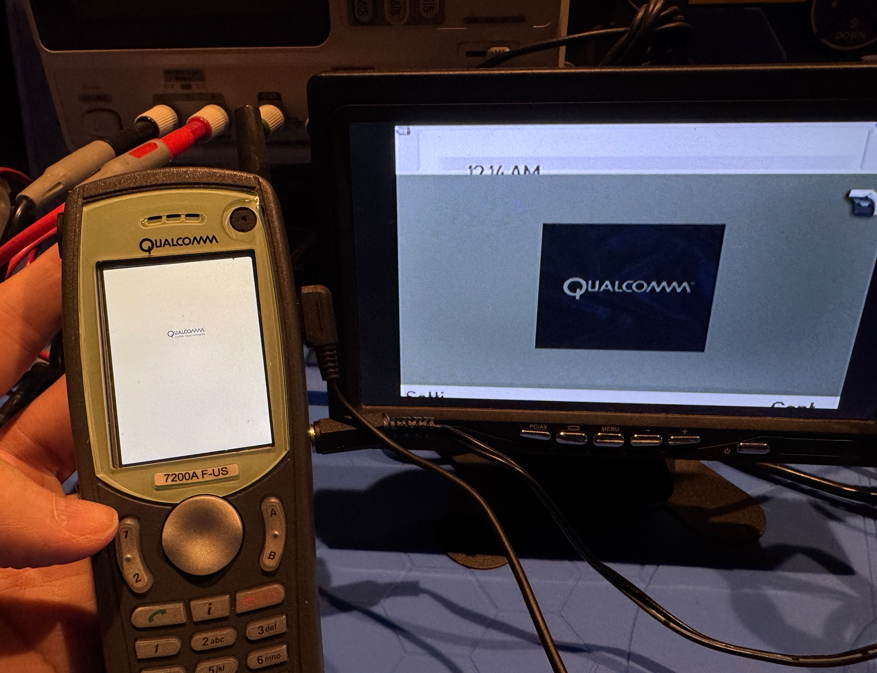
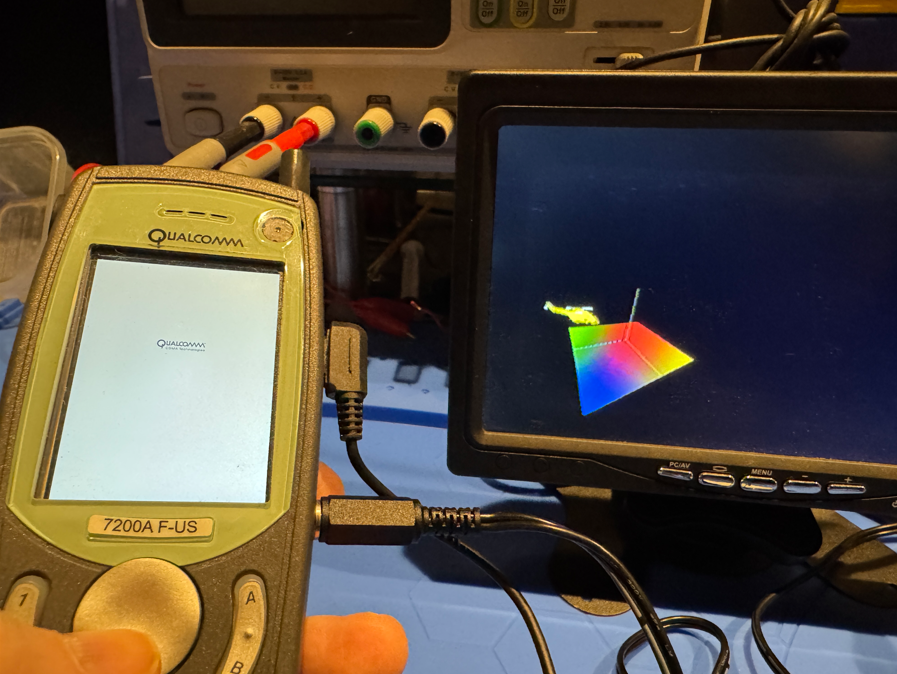
The 7200A only shows “Qualcomm” on the device screen, I can’t make the phone screen show anything else. (weird, I don’t think this was always a problem?)
However, if the RCA adapter is plugged in, I do get everything on the TV, although it looks like the GUI is slightly misshapen due to it outputting a different screen size/aspect ratio I’d guess.
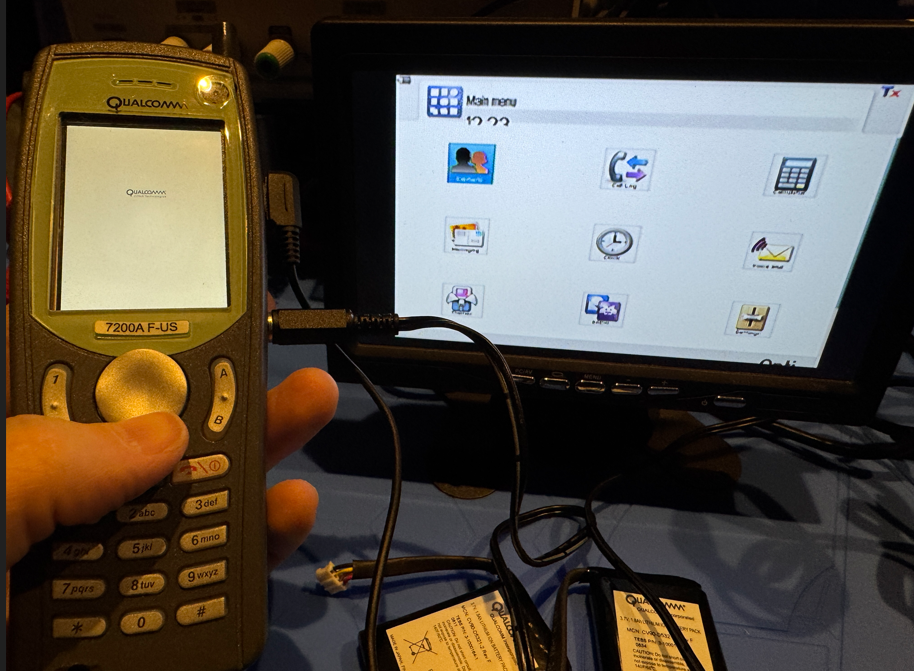
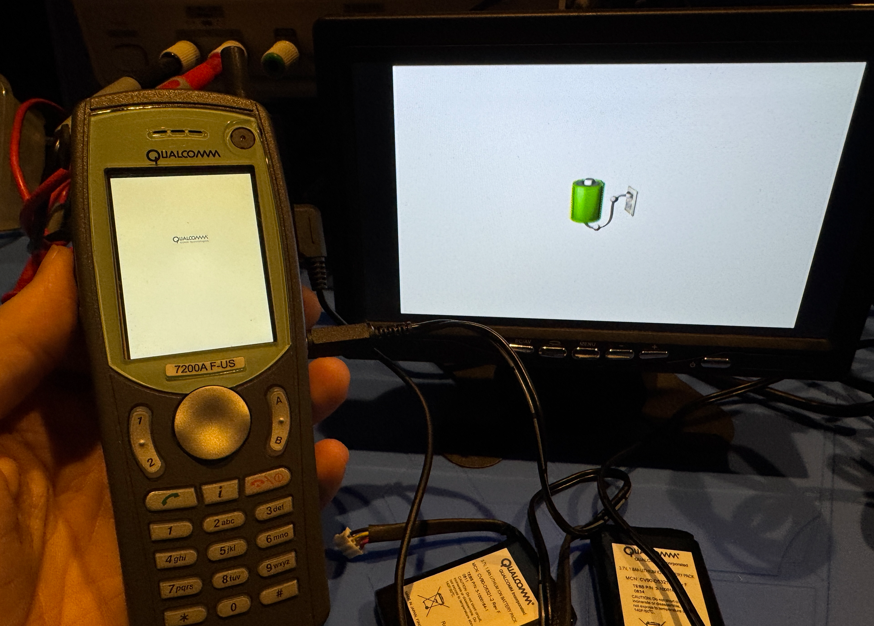
Oh, if you see a charging icon only, you can push the green phone button (not the side power button, that didn’t seem to do anything) to wake it up. Then the little “i” button actually chooses things on menus.
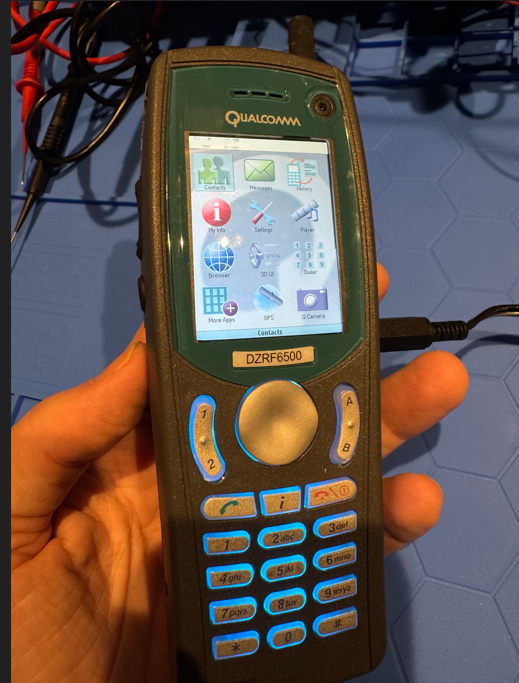
Strangely, on the 6500, the screen works but I don’t get anything out on the RCA adapter, so the opposite of the other phone. It does seem to have the same port but I guess it’s not doing anything, despite a good cleaning of the contacts. Do the dip switches control any of this? Hrm.
Random stuff found
Anyway, that’s about it. I leave you with some random things I found on these devices:
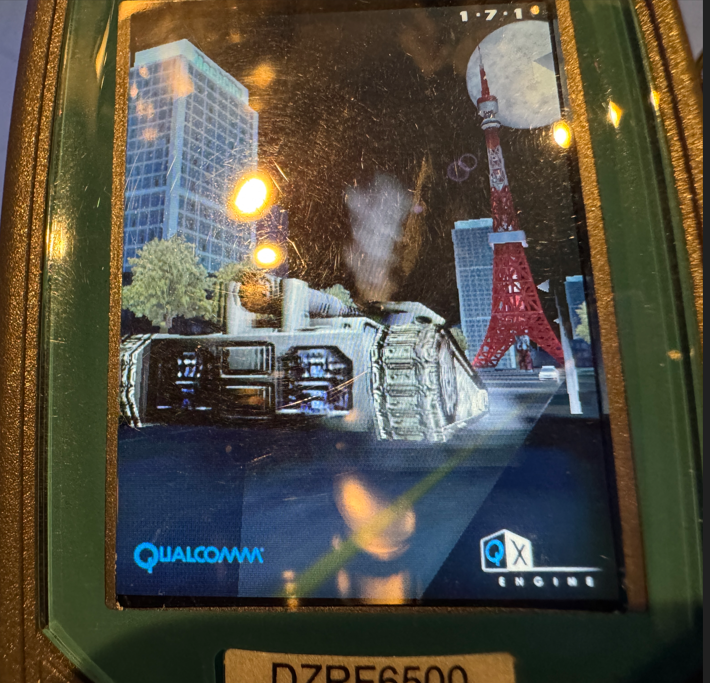
Some 3D tech demo of the QX Engine.
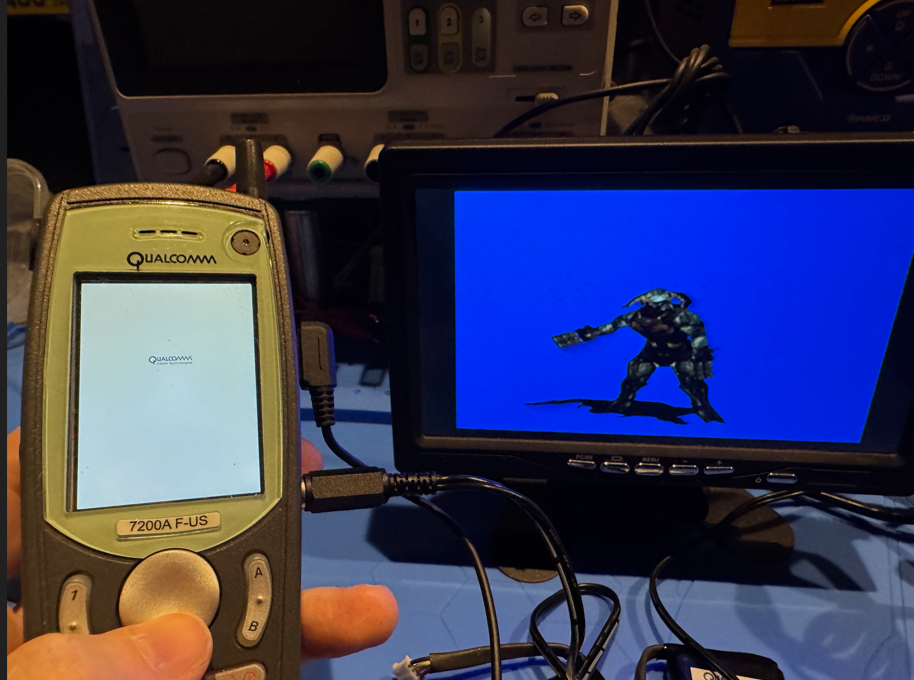
Ripp3d engine test. This was the MWNW in-house 3D engine we used on weaker BREW-like platforms, including Duke Nukem Mobile.
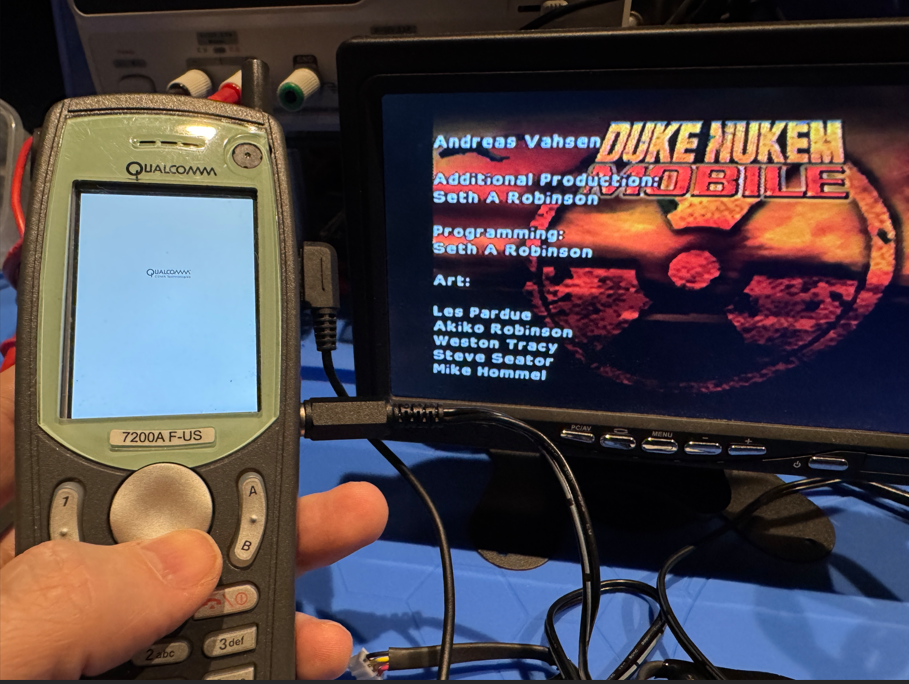
Found a build of Duke Nukem Mobile on this. Hey, my name!
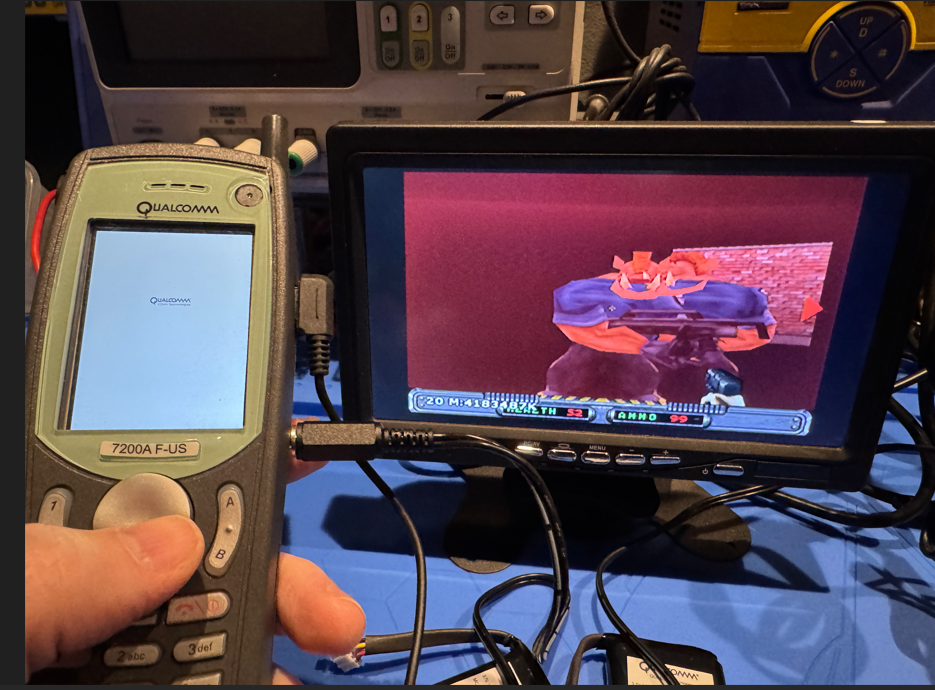
It moves smooth, but most of the rendering is broken, looks like reversed normals maybe. Looks like I threw a build on here then never used it again, not sure if I had a different main testing device or what. It does have working audio, so at least I know the audio RCA cables out work.
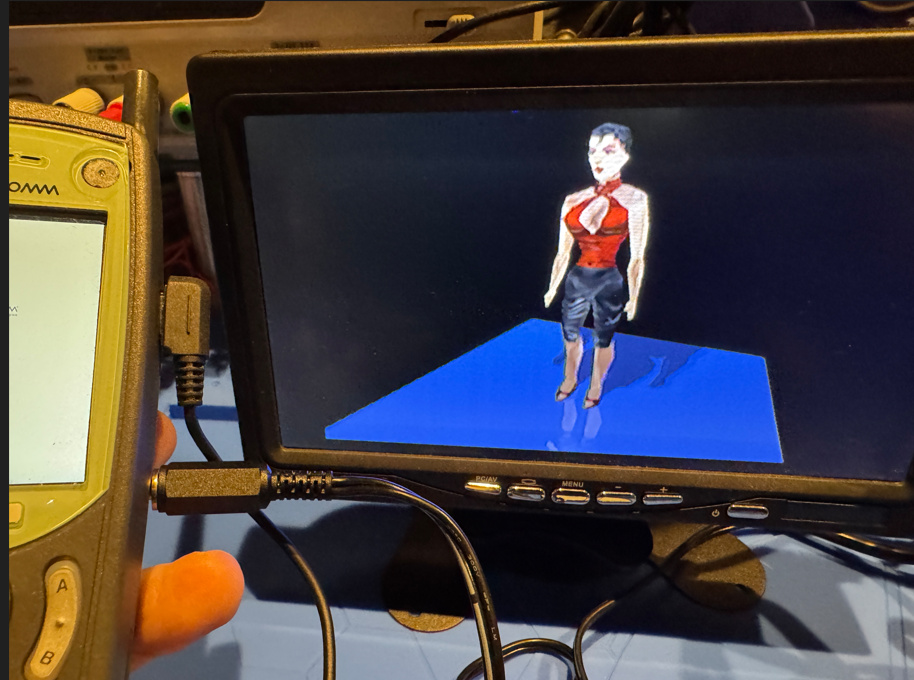
Another 3D demo of some kind. (Not our engine)
Sound demo? (Not our engine)
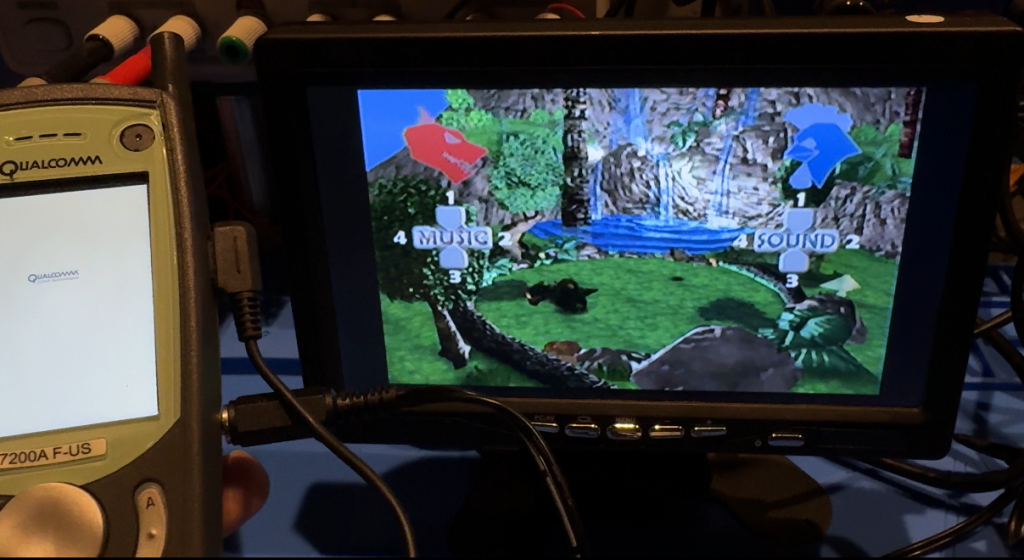
Dragons and Orcs demo or something. The audio didn’t seem to work at all, but I could fly around smoothly in 3D. (Not our engine)