So you’ve probably heard of OpenAI’s amazing DALL·E 2 text to picture generator. (I won’t shut about it!)
Note: None of the pictures in this article were created with DALL·E 2
The wackiest AI generated memes aren’t coming from DALL·E 2. They are mostly coming from a different (and computationally weaker) model called DALL·E mini created by Boris Dayma.
Confusing, right? Well, OpenAI thought so too and the end result is the front-facing website where you can generate pics from your web browser is now called Craiyon.
That said, their open source AI model is still technically called Dall-E Mini. For now.
But why tho
So why do people use Dall-E Mini and other open source AI projects even when they have access to DALL·E 2 & Davinci?
- I can run it myself locally for free*
- I can create an API to use it in an automated way easily, OpenAI doesn’t yet offer a public API for DALL·E 2 (I’m sure it’s coming though)
- No strict censorship, it’s impossible to use DALL·E 2 for many uses because so many things aren’t allowed, including blood, guns, sexy terms, famous characters/people & religious symbols. But now I can finally use all of those at once! Uh… not saying I will, just… I mean, I just want to be able to. Uh, ethically and stuff. Yeah.
- Can use commercially, unlike DALL·E 2 (for now)
* you know what I mean. The graphics card and energy to run it definitely aren’t free, but you aren’t reliant on someone else’s slow-ass webserver or extra fees.
Running my own version locally, no servers needed
So I dug in and got it running locally under Ubuntu with an NVidia 3090 and did some tests. Getting every library CUDA enabled and playing nice with each other was kind of a headache.
Note: Many of these tests don’t require a 3090, I don’t think anything I’ve run has used more than 50% of my video ram.
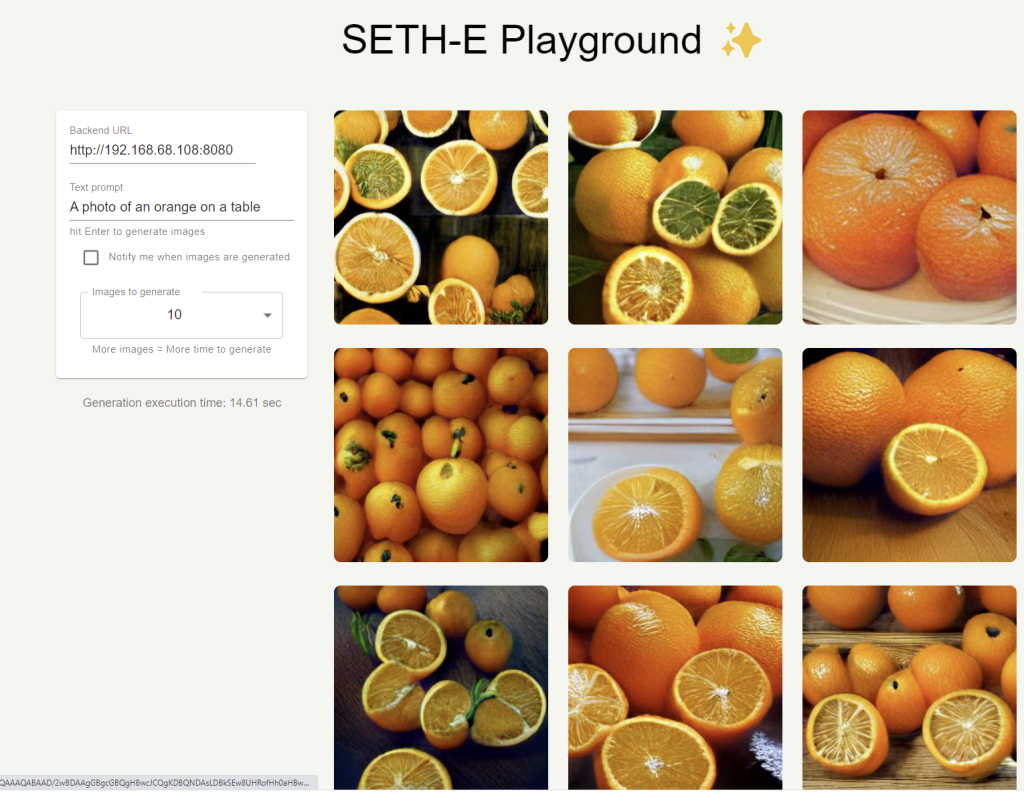
Special thanks to Sahar’s DALL-E Playground code and sorry for instantly defacing it to say SETH-E.
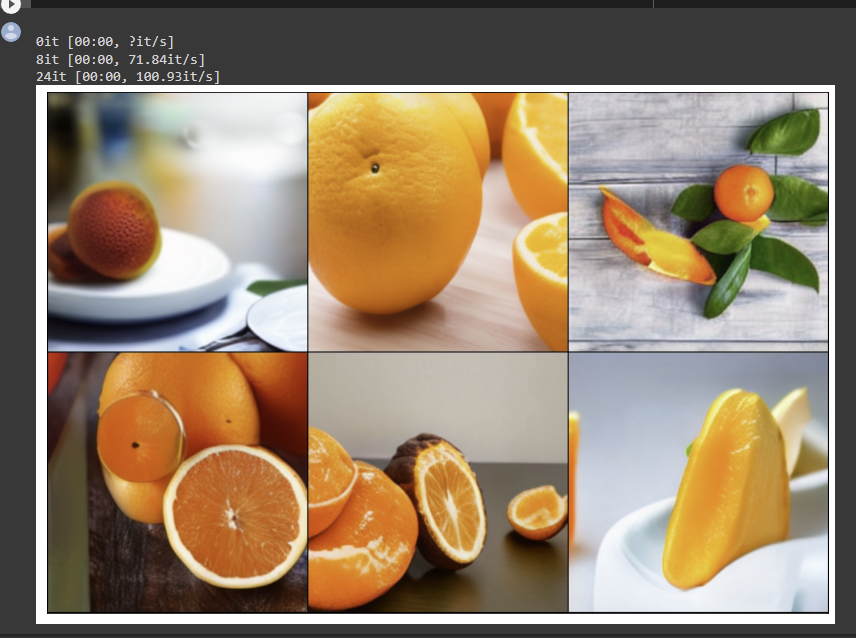
First some pics generated with DALL·E Mini:
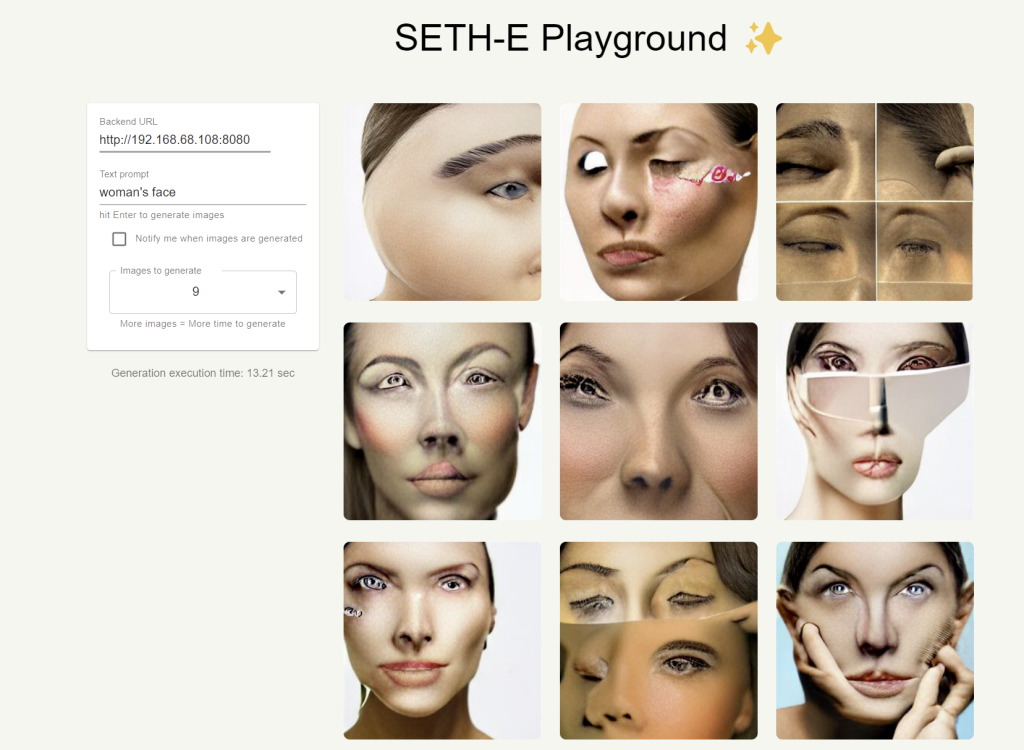
Not great. But hold on – there is a more powerful data set Dayma has released called “Mega”.
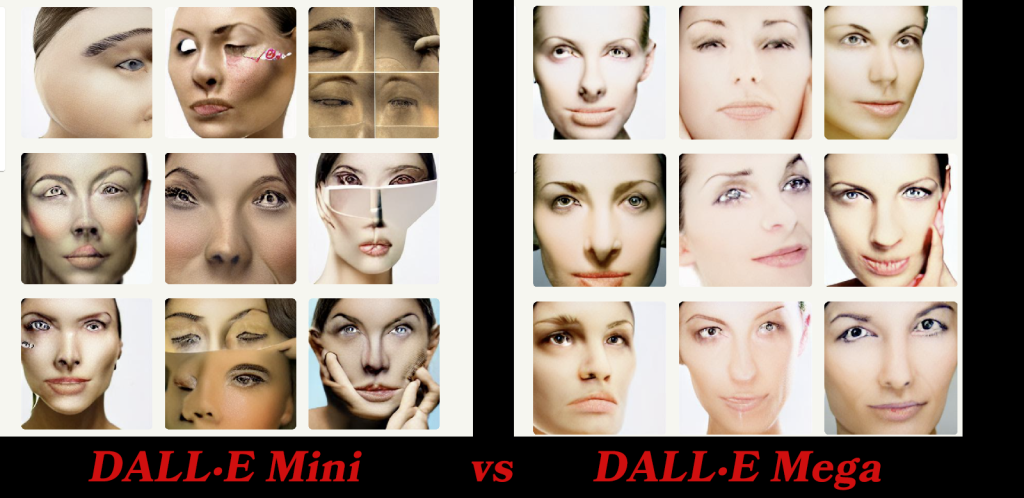
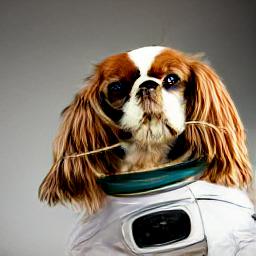
So it’s still Dall-e Mini, but we’re using the “Mega-full” weight data which requires more memory and time to generate stuff. After enabling that, the pictures are better:
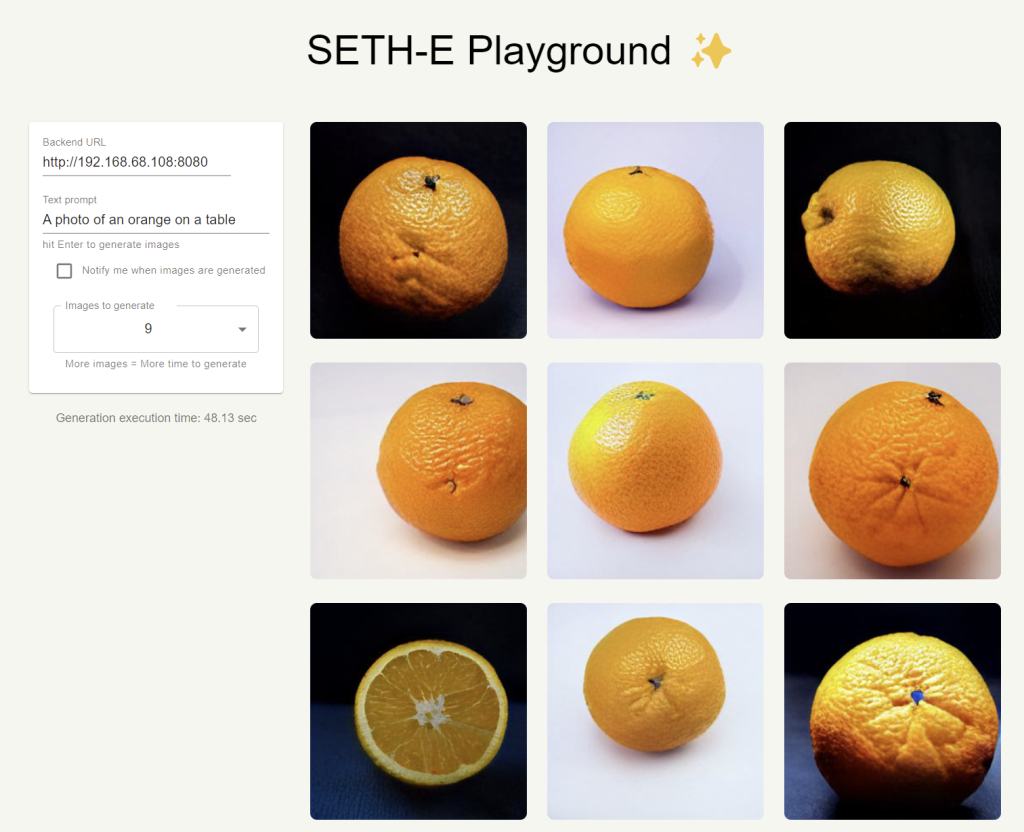
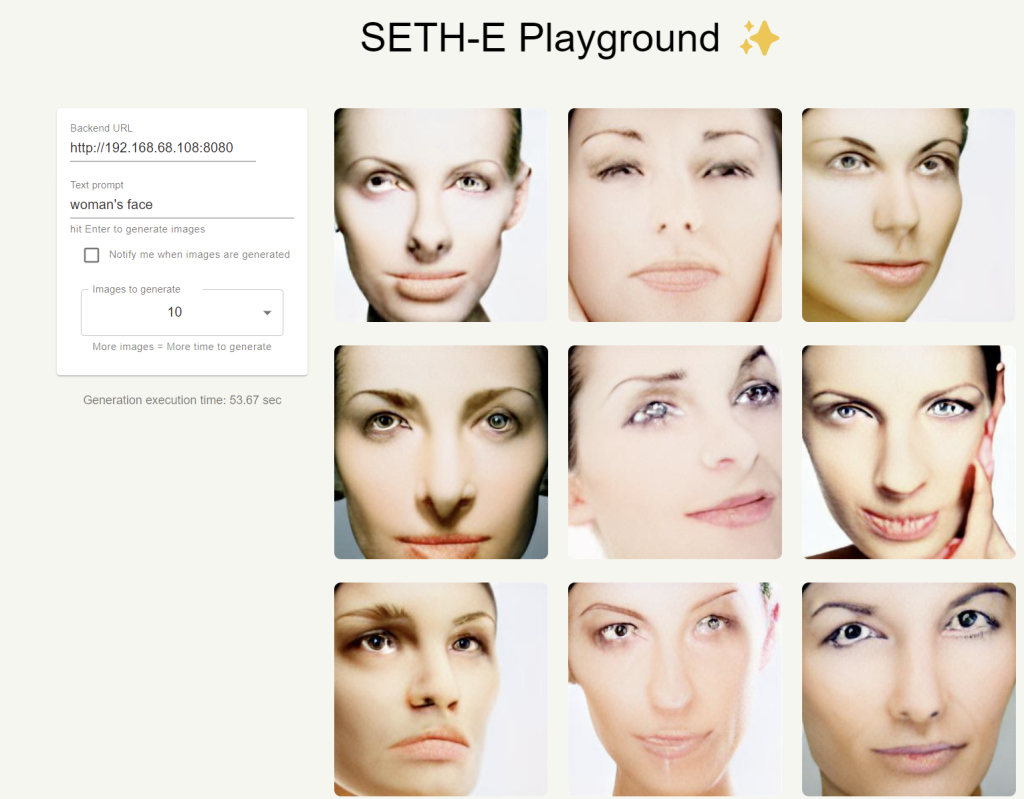
As you can see, it now understands “an orange” to just be one and the faces are far less horrific.
Note: I ran these prompts a few times, the results were consistent
As far as I can tell, Dayma and friends are still training models so looking forward to Super-Mega or Giga or whatever, even if my home computer will likely no longer be able to run them soon.
Switching to AI text generation for a second, I’ve also gotten GPT-J 6B running locally and am currently working towards getting EleutherAI/gpt-neox-20b running. (the closest open source thing to GPT-3 Davinci out there?)
To run gpt-neox-20b locally will require two 3090s in the same computer or buying a $30K graphics card. I’ll try the 3090s I guess.
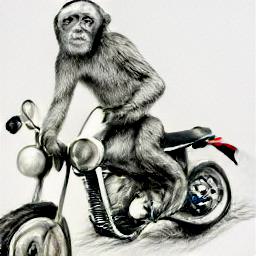
So how’s the quality of Mega?
Well, nowhere near OpenAI’s offering but it’s definitely getting better.
Pics I made:

Seth, what are you even doing with all this AI stuff?
First, it’s just addicting to play with and fun trying to think of novel ways to use it.
Open source “State of the art” is changing regularly as new models and datasets are released from all over. It’s going to be a crazy decade, machine learning & AI is affecting EVERYTHING EVERYWHERE, it’s not just just for putting animals in spacesuits and generating erotic Willow (1988) fanfic.
I have some projects in mind but.. yeah, we’ll see.
Oh, for making it all the way to the end, have another orange test but this time I generated it using ruDALLE-E with the Malkovich dataset, yet another AI project to keep an eye on: